Front Derailleur Adjustment: A Cyclist's Complete Guide 🚲
If you've ever had a chain that scrapes or falls between the crank and frame, you know how this can create a frustrating ride. Luckily, making a careful front derailleur adjustment can restore controlled movement between chainrings. It can also protect the chain from being pushed too far inward or outward.
This guide will review the correct adjustment sequence,
troubleshooting steps, and signs that indicate a mechanical problem rather than a simple setup error.
Key Takeaways
- Set cage height and rotational alignment before adjusting limits or
cable tension. This establishes the derailleur’s working geometry and prevents later corrections from masking a poor mounting position.
- Use the high and
low-limit screw
to define safe travel boundaries. Next, make small cable-tension corrections with the barrel adjuster. Test after every change, use trim for gear-dependent rubbing, and avoid sustained cross-chaining.
- Bent, worn, corroded, or
incompatible parts require mechanical attention rather than more adjustment.
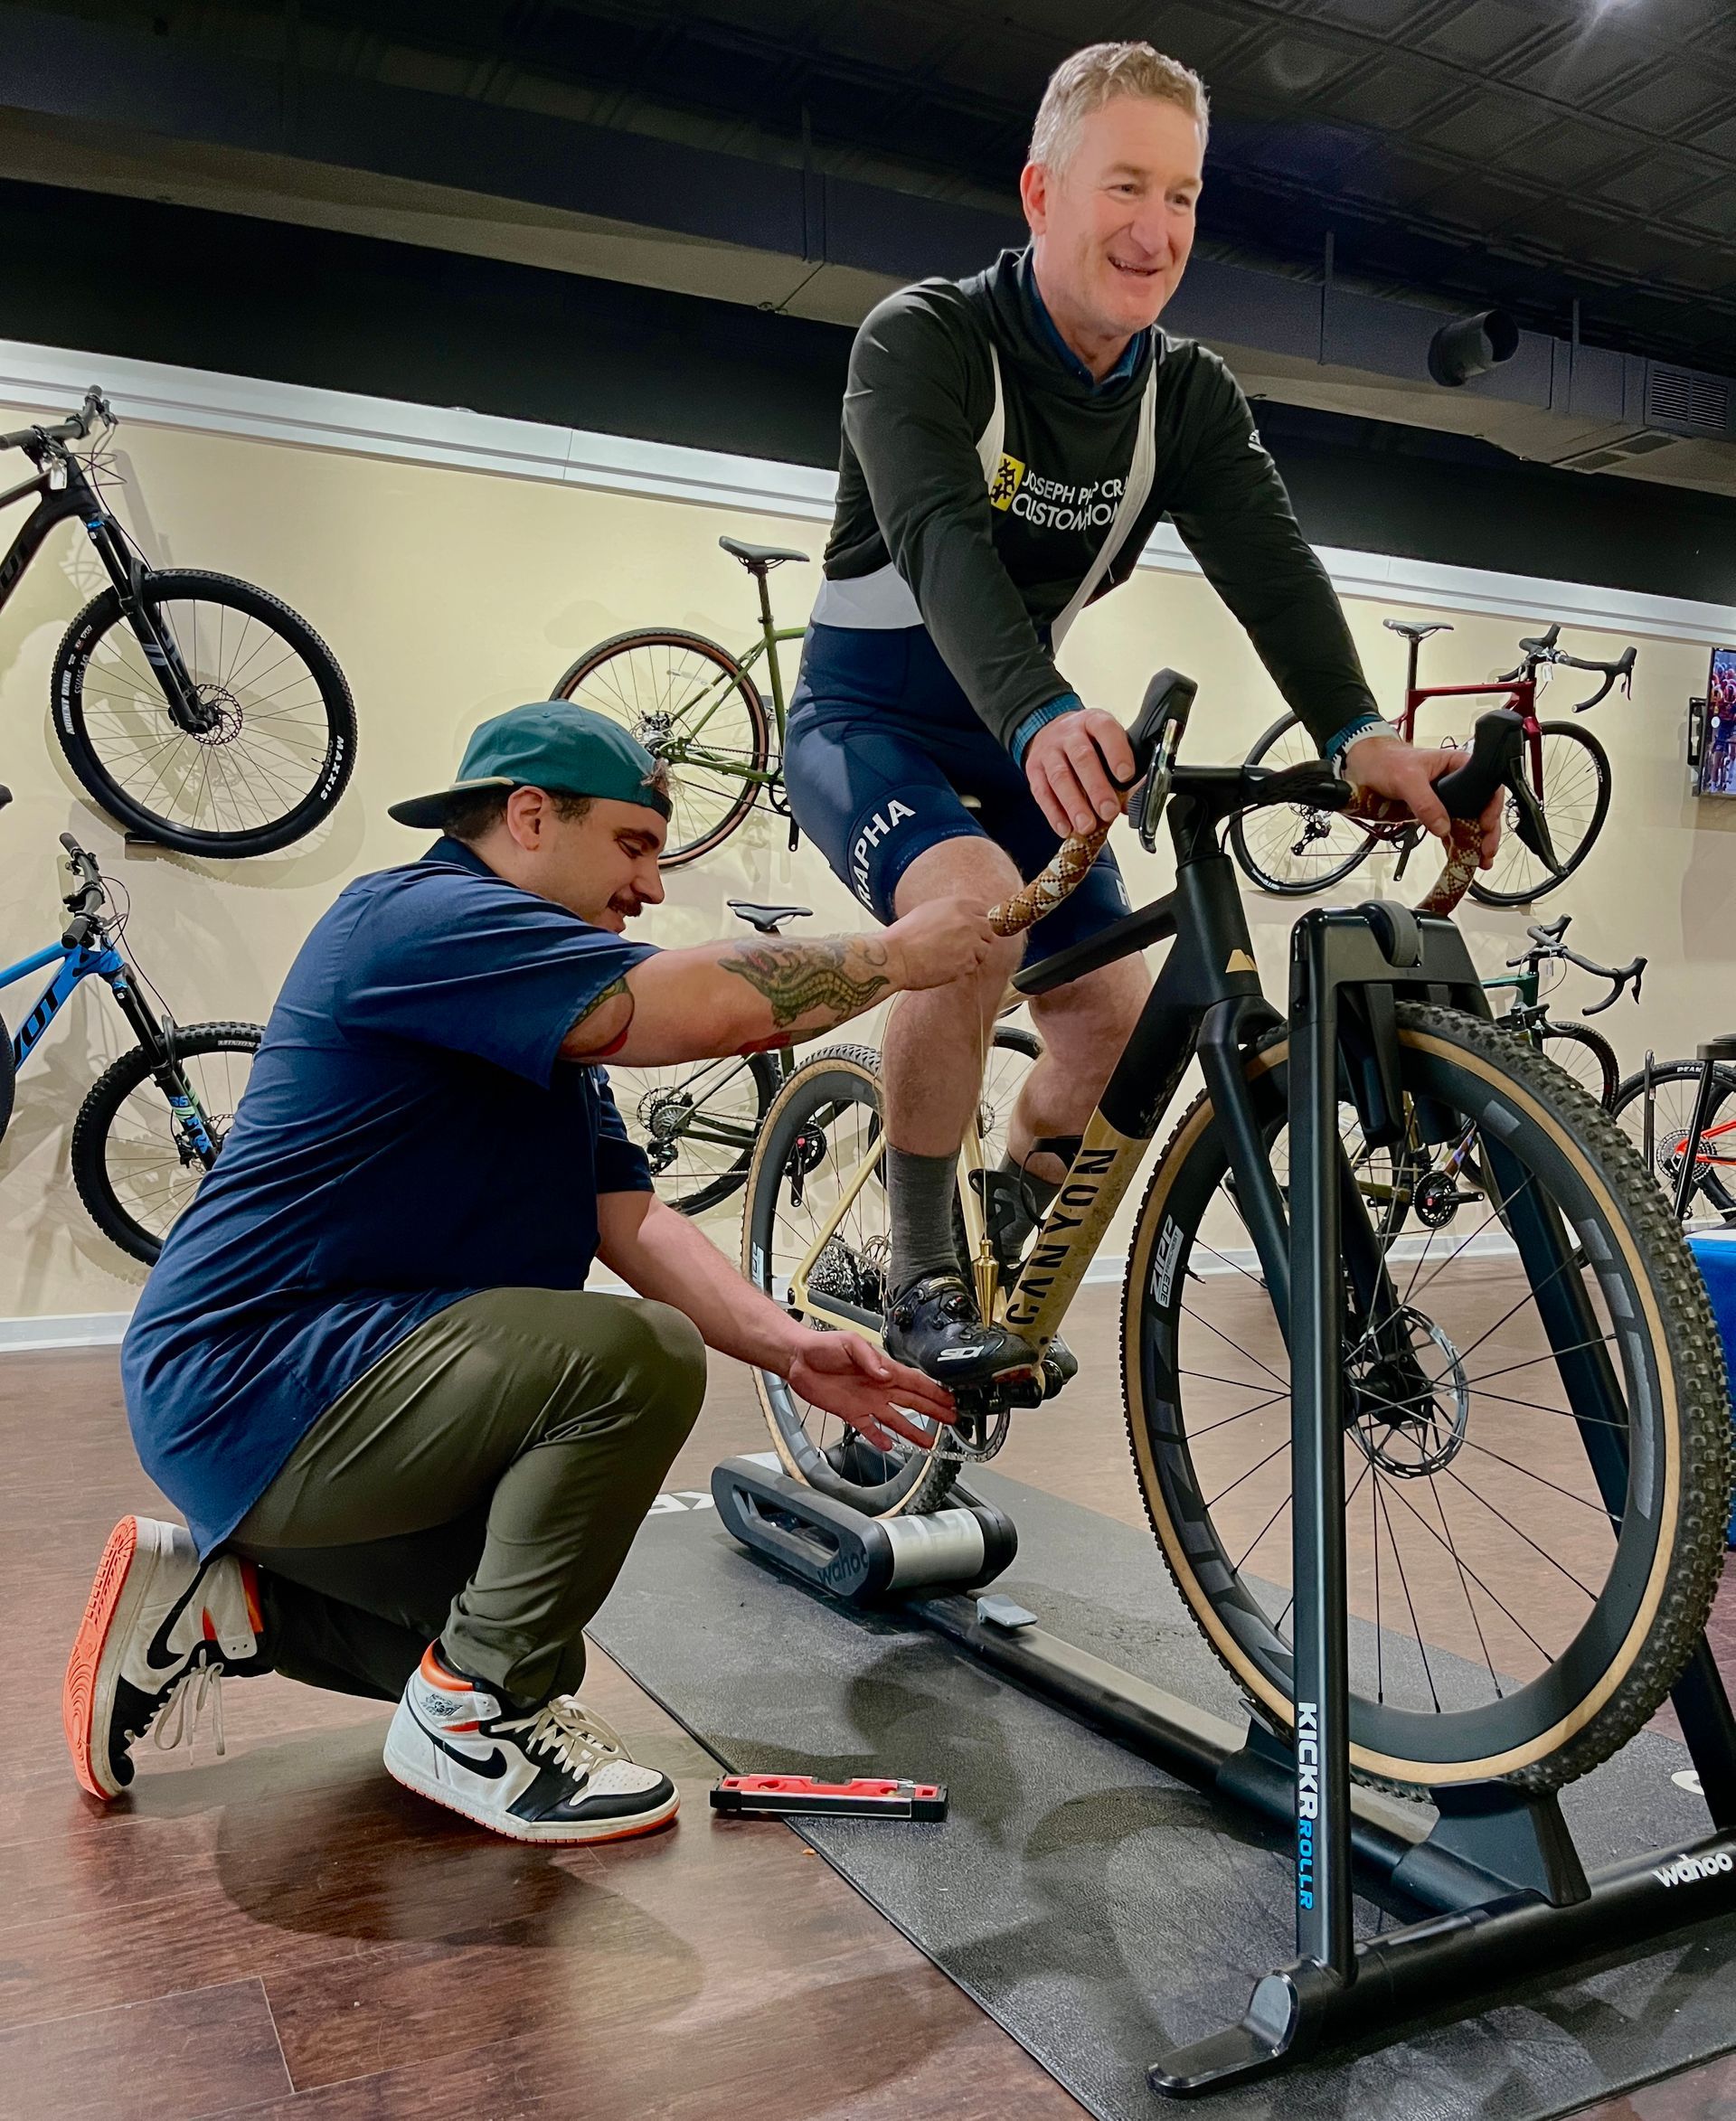
- Clever Fox Cyclery in Auburn Hills is available to help riders understand persistent mechanical shifting and electronic shifting problems. They offer professional fitting services for cyclists in need of assistance.
Understand What the Front Derailleur Does

A front derailleur guides the chain between the chainrings attached to the crankset. Its cage moves laterally when the rider operates the shifter. This creates the controlled sideways pressure needed to move the chain onto another ring.
Chain wear and rub can result from derailleur misalignment, incorrect cable tension, or cross-chaining. Slow shifts can point to cable friction or tight limits. According to Park Tool’s front-derailleur troubleshooting guide, inward drops and outward overshifting commonly involve the L- and H-limit settings respectively. A bike stand helps reveal these symptoms because the crank can be rotated while the bicycle remains stable.
Know the Main Adjustment Points
Cage height: The vertical clearance between the derailleur’s outer plate and the largest chainring.
Rotational angle: The direction the derailleur cage points when viewed from above.
Limit screws: Mechanical stops that restrict how far the cage travels inward and outward.
Cable tension: The pulling force that moves a mechanical derailleur toward the larger chainring.
The order here is significant: position the derailleur, establish its travel limits, and then fine-tune cable tension. Changing this order can fix one issue while creating another.
Recognize When Adjustment Will Not Fix the Problem
A bent cage, frayed cable, damaged shift cable, chainring wear, or incompatible components may require repair or replacement. Cable housing should also be checked for corrosion, sharp bends, and internal sticking.
Prepare for a Front Derailleur Adjustment

Use a bicycle stand when available, along with the correct hex key, screwdriver, and a clean rag. Tool standards vary among component manufacturers, so consult the relevant manufacturer documentation before loosening unfamiliar hardware.
Turn the pedals by hand and shift with light pressure, keeping fingers, clothing, and tools away from the moving chain and chainring teeth. Clean the cage plates and chainrings first. This is essential because grease and dirt make accurate clearance checks difficult.
Reliable and meticulous mechanical service to keep rides smooth and safe begins with inspection. A clean drivetrain exposes bent teeth, cable drag, and loose mounting hardware.
Start With the Right Gear Position
For the low limit, place the chain on the smallest front chainring and largest rear cog. This combination brings the chain closest to the frame and reveals whether it could fall inward.
For the high limit, use the largest front chainring and smallest rear cog. This position exposes excessive outward travel that could send the chain beyond the large ring.
Set Cage Height and Alignment First
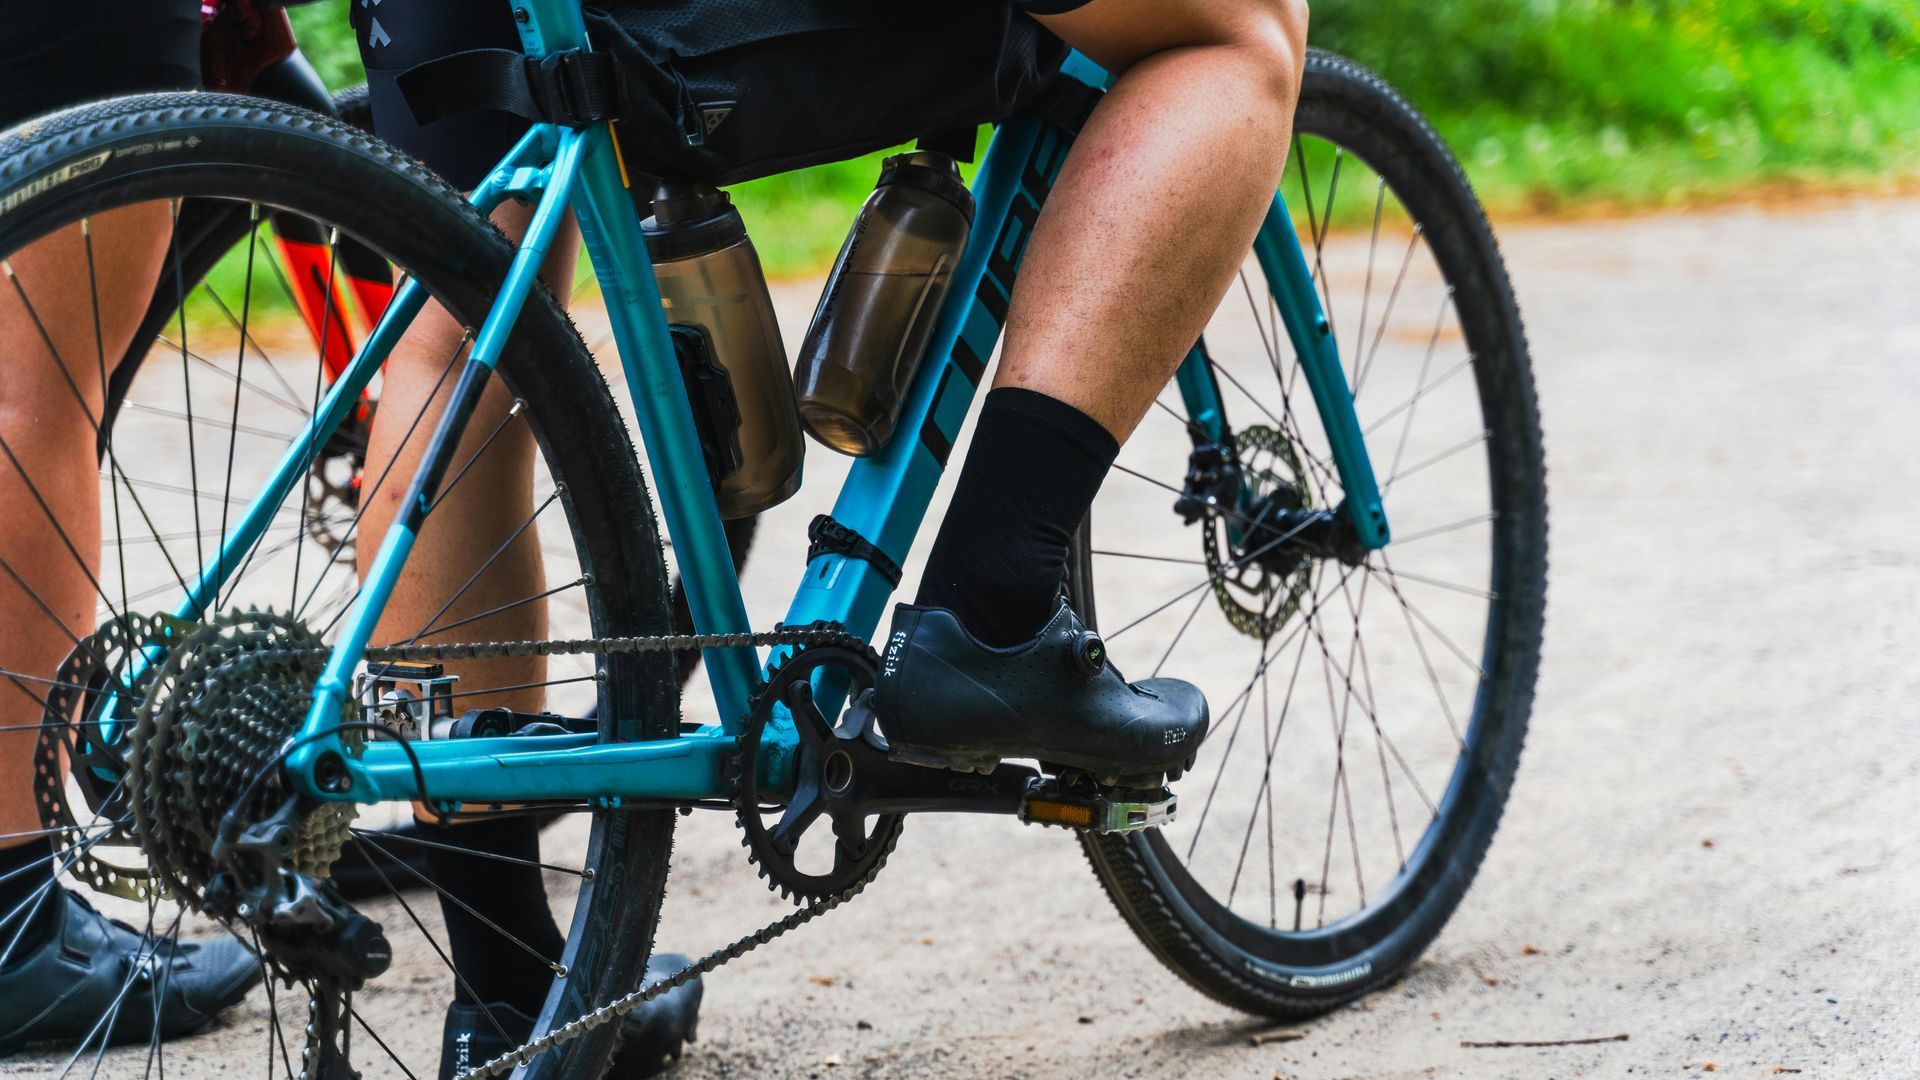
Position the outer cage plate approximately 1 to 3 millimeters above the tallest teeth of the largest chainring. If the component manufacturer’s specification differs, follow that guidance instead. The cage should also sit parallel to the large ring so it pushes the chain evenly through the shift.
Loosen the mounting clamp only enough to make controlled changes, then tighten it to the specified torque. Recheck height and angle after tightening because clamp pressure can rotate or lower the derailleur slightly.
Park Tool’s front derailleur adjustment guide also places mounting position before limit and cable adjustments. Every later setting depends on the cage occupying the correct physical position.
Why a Cage Set Too High Can Cause Trouble
A cage set too high can cause slow or sloppy front shifting and may allow the chain to overshift beyond the large ring. This is because it guides the chain less effectively. A typical issue is a chain that hesitates under light pedaling, then jumps past the large ring when the rider applies a hard pedal stroke.
Why Rotational Angle Matters
A cage pointing inward or outward can rub the chain and apply sideways pressure at the wrong angle. View the cage from directly above and compare its long edge with the large chainring.
Adjust the Low and High Limit Screws
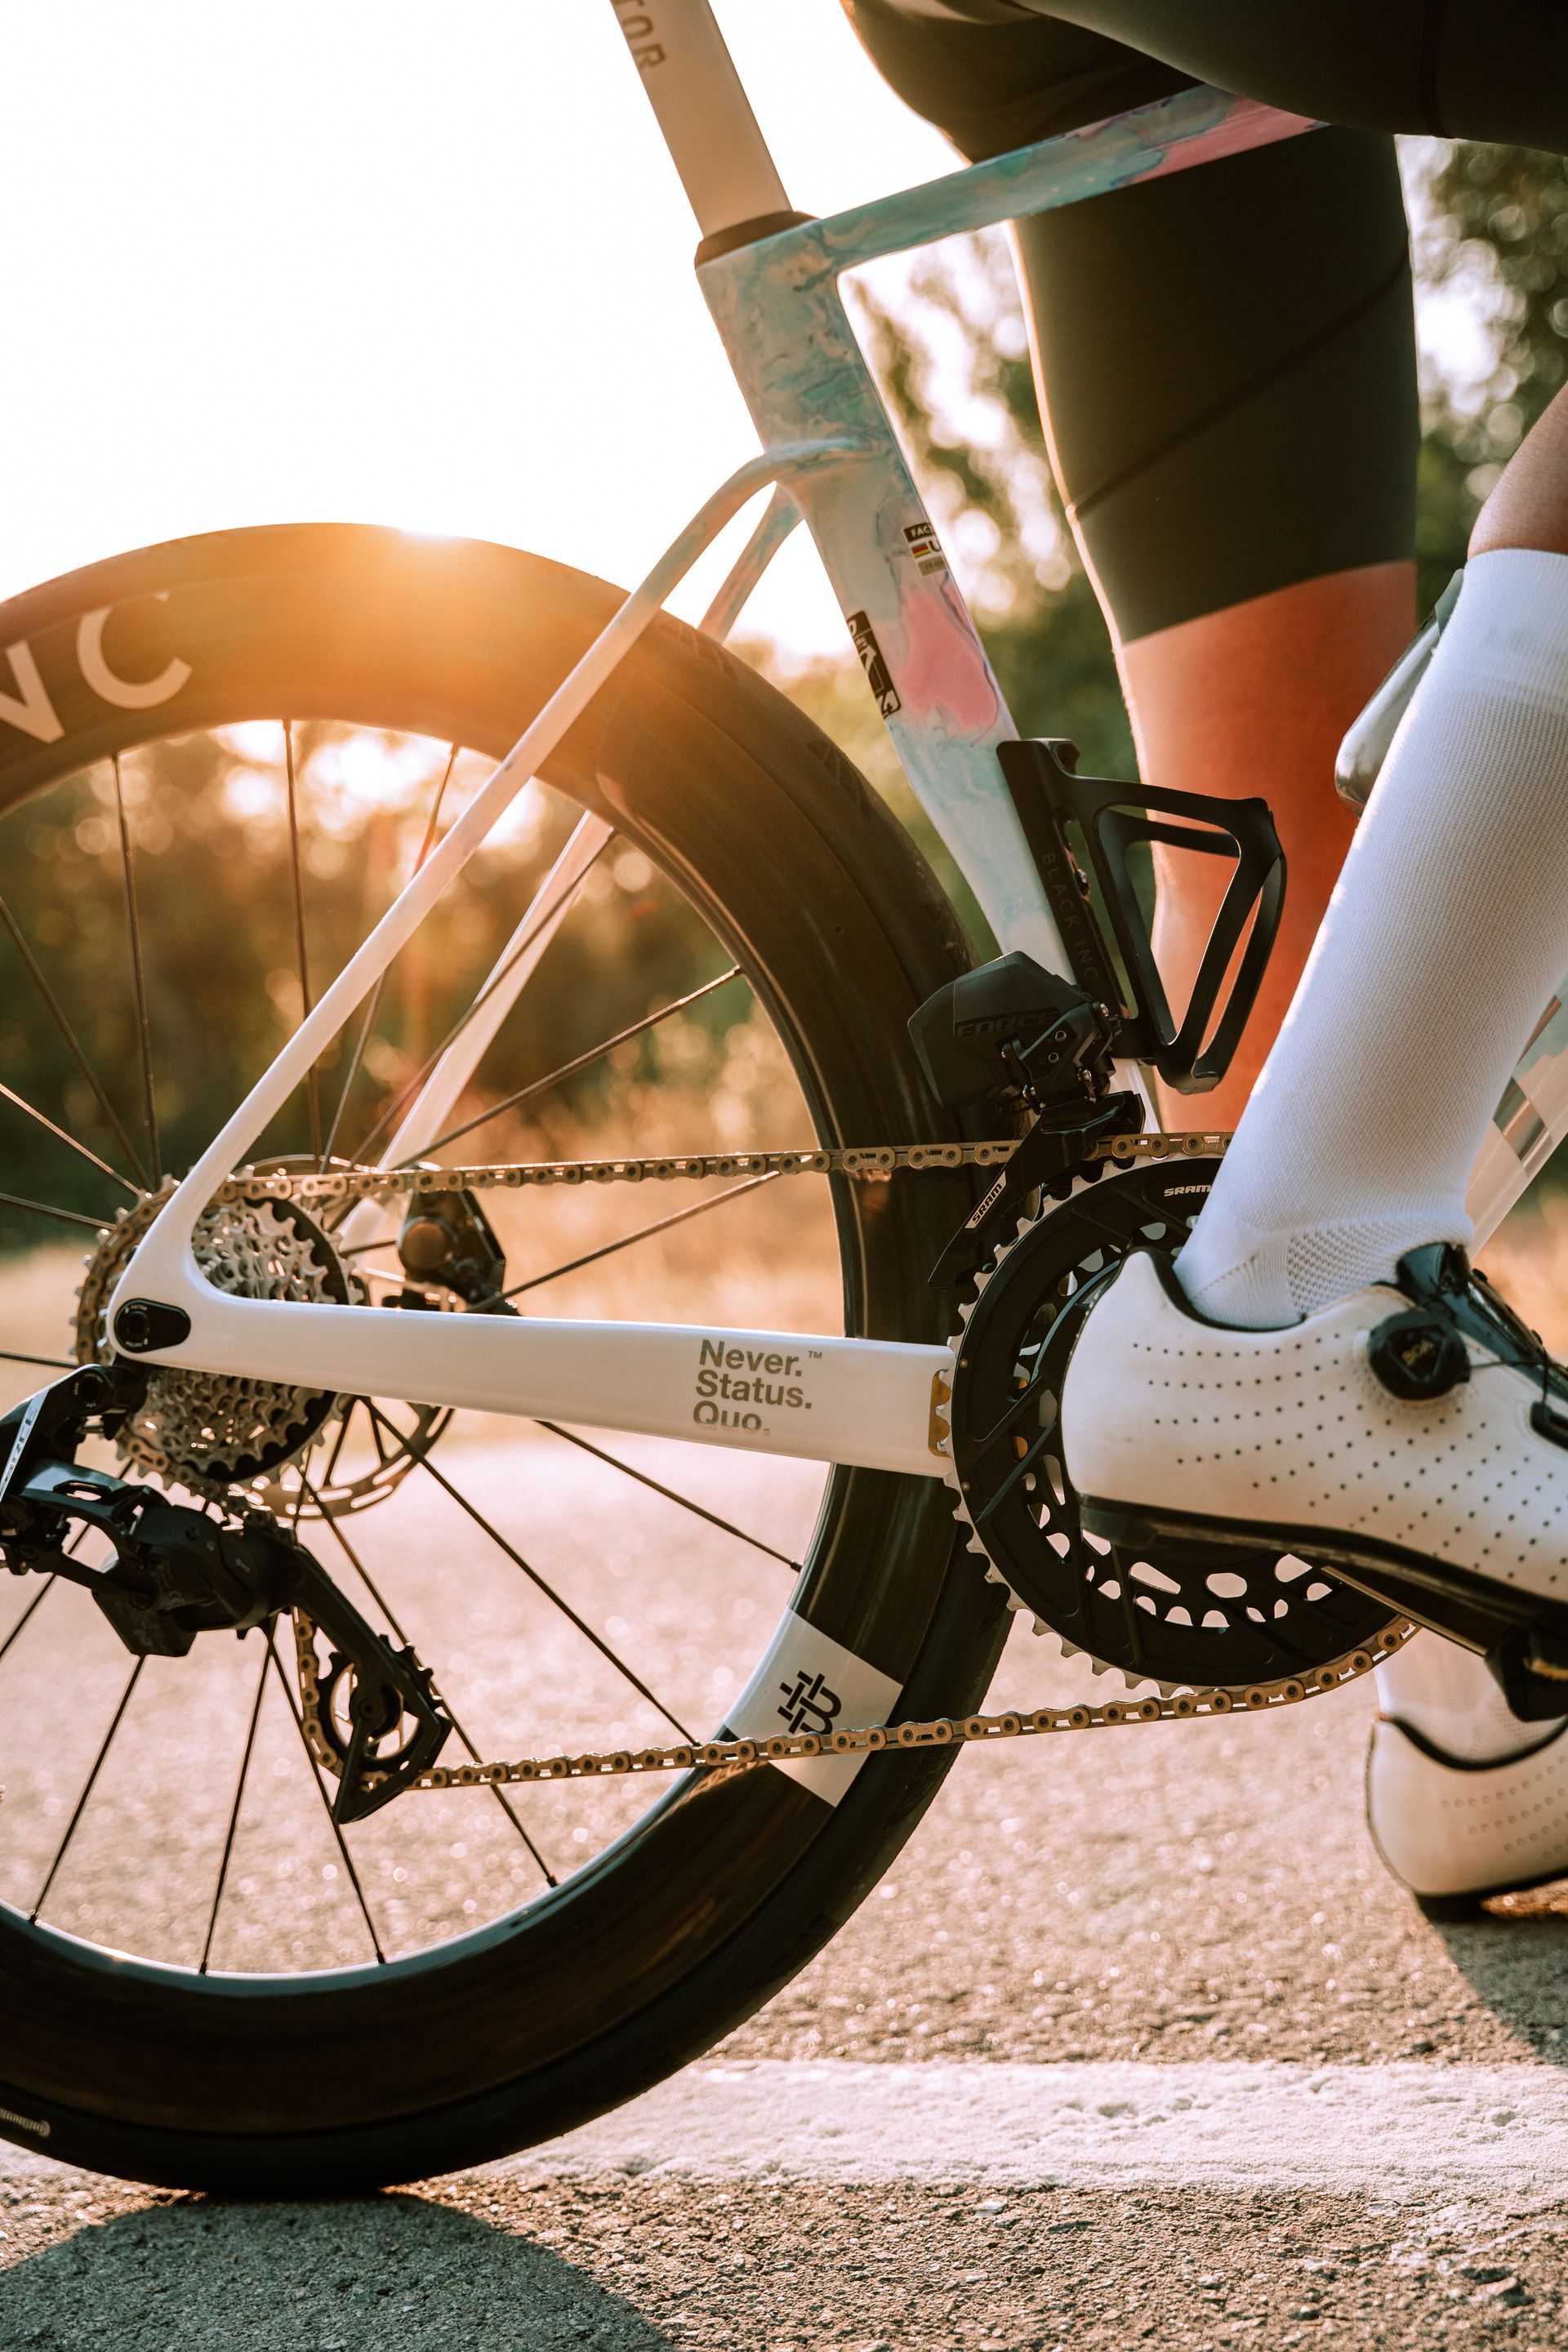
Limit screws establish safe inward and outward travel boundaries. They do not regulate shift speed. Screw labels vary, but “L” commonly controls movement toward the frame and “H” controls movement away from it.
Don't assume which screw is which if labels are unclear. Turn one screw a quarter turn while watching the cage to confirm its function.
Set the Low Limit
Place the chain on the small front ring and largest rear cog. Next, position the inner cage plate close to the chain without continuous rubbing. Pedal gently after each small change because an excessively loose low limit can let the chain fall toward the bottom bracket.
Set the High Limit
Place the chain on the large front ring and smallest rear cog, then bring the outer cage plate close without persistent contact. Confirm that the chain reaches the large ring but cannot travel beyond it, using controlled hand pedaling rather than force.
Component alignment also matters at this boundary. Personalized guided sales tailored to each rider’s unique needs and preferences can prevent mismatched shifters, cranksets, and derailleurs from being treated as adjustment failures.
Fine-Tune Cable Tension and Use Trim Positions
Cable tension is the pulling force that moves a mechanical front derailleur outward. On Shimano mechanical systems, too little tension commonly causes a slow or incomplete shift to the large chainring. Too much tension can hinder the return to the small ring or cause cage rub.
Use quarter-turn adjustments followed by complete test shifts. Large changes make it harder to distinguish insufficient tension from incorrect cage position or a restrictive high limit.
Find the Barrel Adjuster
The barrel adjuster may sit where the housing meets the derailleur, midway along the cable housing, or near the shifter. On many systems, counterclockwise rotation adds tension and clockwise rotation reduces it. However, the manufacturer’s instructions should settle any uncertainty.
Use Trim to Reduce Chain Rub
Trim is a small front shifter movement that repositions the cage without changing chainrings. With the chain on the front ring and a larger rear cog, one trim click may stop light cage contact.
Trim is a
small half-shift intended to reduce cage rub while the chain remains on the same ring. It can't compensate for a bent cage or substantial misalignment.
Test Every Gear Combination
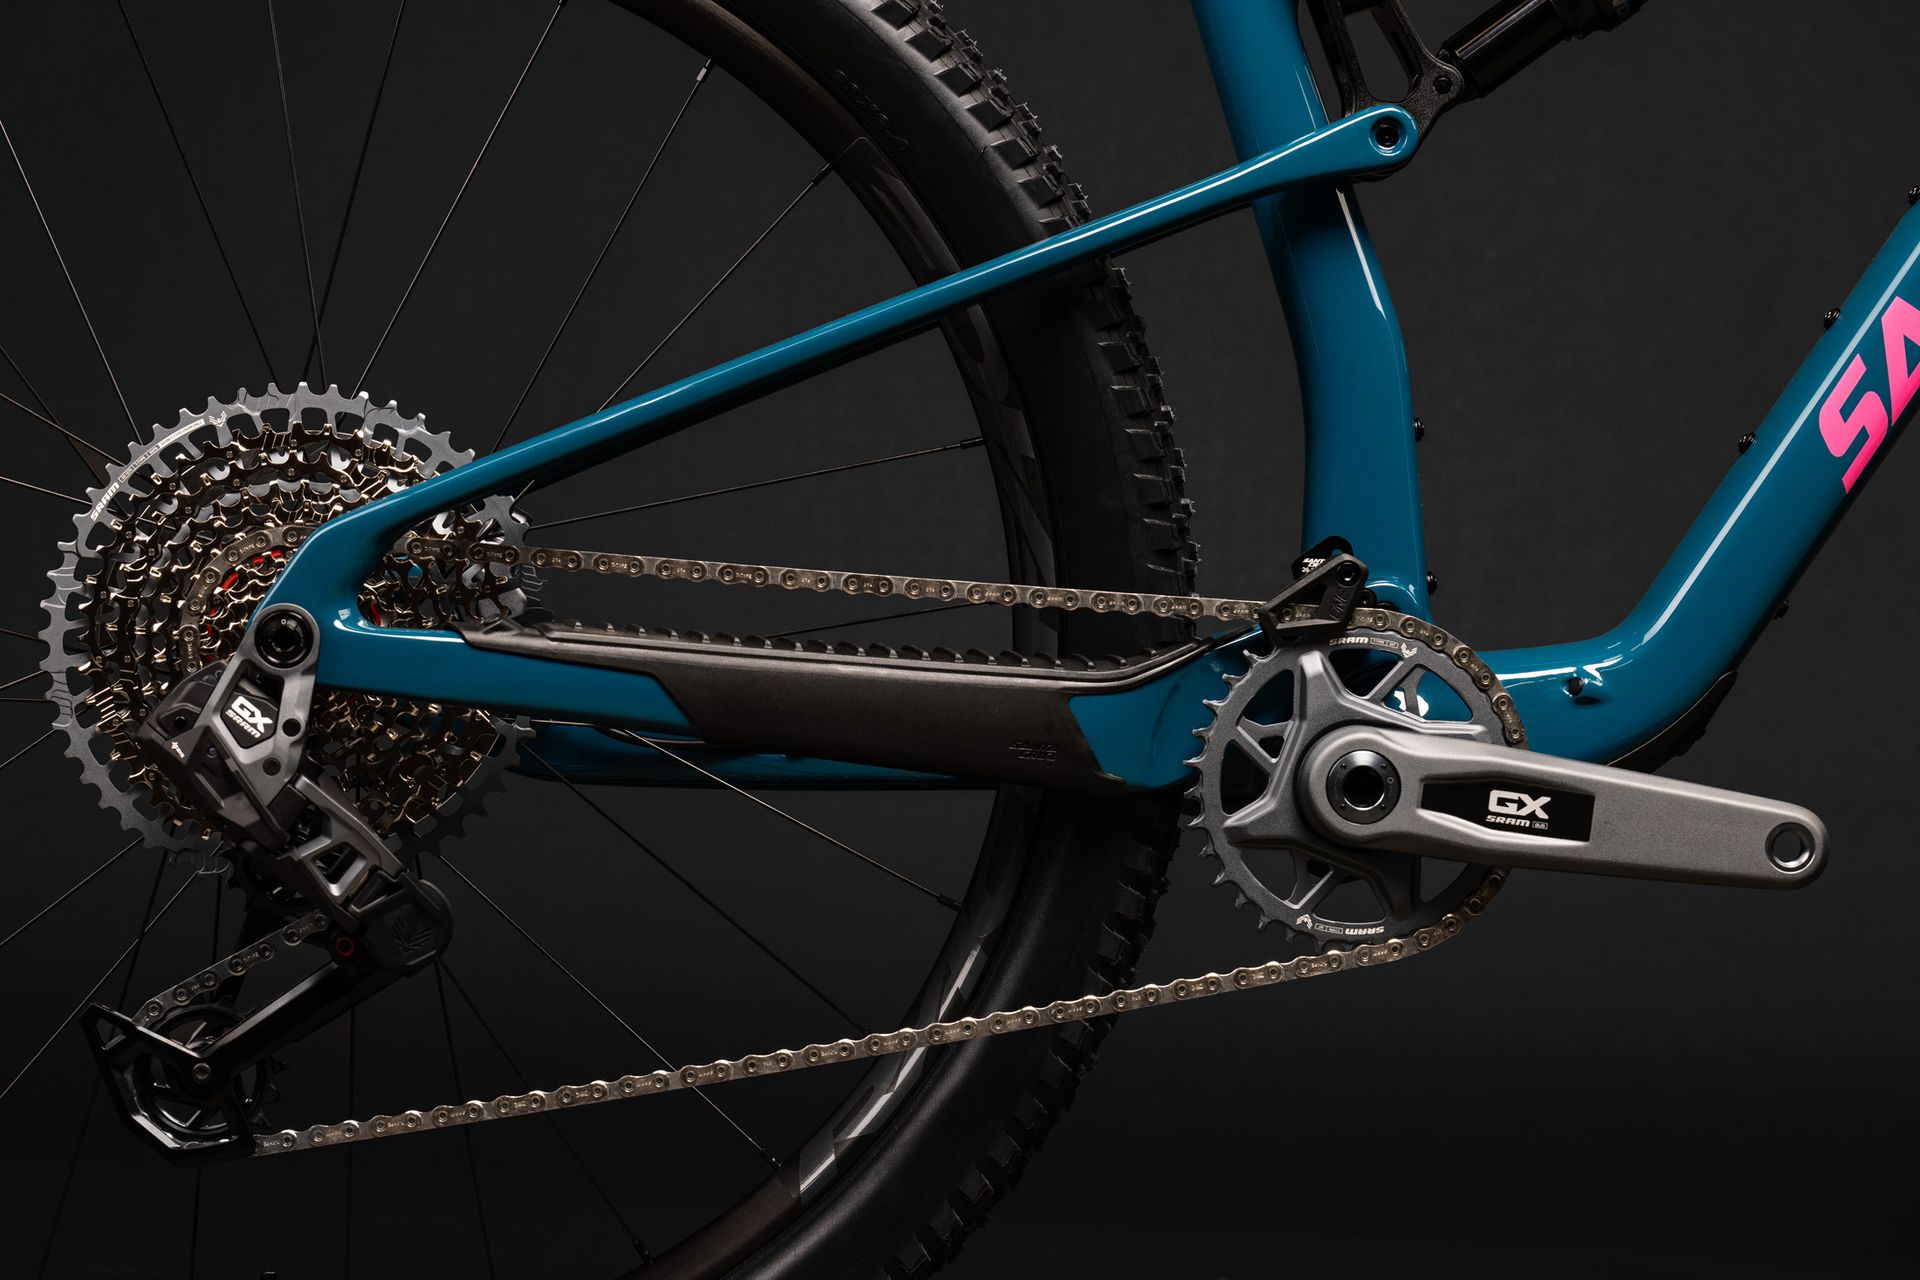
Shift between both front chainrings while pedaling at a moderate, steady pace. Confirm predictable movement, minimal rubbing, and secure chain retention at both travel limits.
Briefly check the full rear cassette, but avoid prolonged cross-chaining such as the largest chainring paired with the largest rear cog. These big-big or small-small combinations are generally noisier and less efficient because of the steeper chain angle.
Road testing should follow stand testing because frame movement and pedal load may expose problems that hand rotation misses. Begin with controlled shifts under light pressure before testing normal riding effort.
A Simple Troubleshooting Example
If the chain will not climb to the large ring, inspect cable tension first, then verify cage height, angle, and the high limit. This sequence separates inadequate cable pull from a physical obstruction.
If the chain falls outside the large ring,
reduce outward travel
with the high-limit screw rather than reducing cable tension blindly. When rubbing occurs only in certain rear gears, try the available trim position before disturbing either limit.
Avoid Common Front Derailleur Adjustment Mistakes

Do not use limit screws to compensate for improper cable tension, since this can either block a shift or remove a chain-retention safeguard. Likewise, adjustment will be unable to produce lasting results on a dirty, dry, or severely worn drivetrain.
Change only one variable at a time and record whether the issue improves. This method preserves cause and effect, whereas simultaneous adjustments make diagnosis largely speculative.
Avoid testing by shifting under maximum pedal force. Front shifts require the chain to disengage and climb across teeth. Moderate pressure gives the mechanism a fair test while reducing the chance of a dropped chain.
Leave Adjustment To The Experts
Front derailleur adjustment is simple once you understand what it does and how to prepare with the right tools. Setting cage height is essential, as is adjusting limit screws properly.
Fine-tune cable tension for smooth shifting and try different gear combinations to ensure everything works well. These simple steps make your ride smoother and safer. Clever Fox Cyclery offers professional bike fitting services for maximum comfort, efficiency, and performance. Call us or stop by our Auburn Hills shop today to book your bike fitting with our team of experts.
FAQs
1. How Much Does It Cost to Get a Derailleur Adjustment?
Cost varies by bicycle condition, service scope, and whether cables, housing, or drivetrain components need replacement. Ask what inspection, cleaning, adjustment, and test riding are included before authorizing work.
2. How Do You Properly Adjust a Front Derailleur?
Set cage height and alignment first, establish the low and high limits, and then correct shift quality with cable tension. Test every change while turning the pedals by hand before performing a controlled road test.
3. What Happens If the Front Derailleur Is Too High?
Excessive space above the large chainring reduces the cage’s control over the chain. Shifts may become slow or inconsistent, and the chain has a greater chance of overshooting the large ring.
4. Where Is the Front Derailleur Barrel Adjuster?
It may be located where the cable housing enters the derailleur, along the housing, or near the shifter. Some systems lack an obvious external adjuster, so confirm the design through the manufacturer’s service instructions.